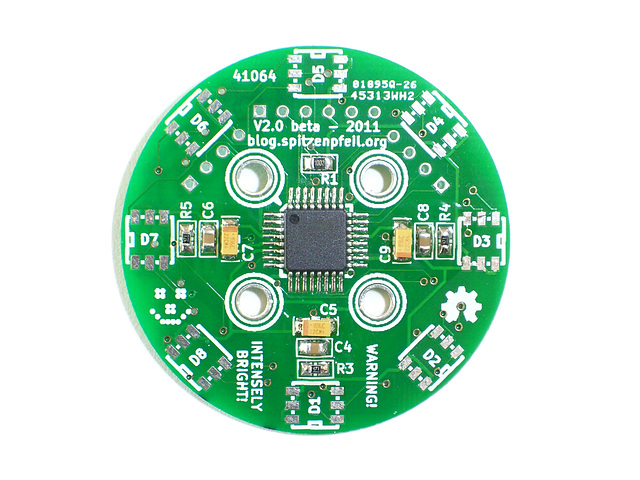
V2.0 beta - assembly step #4
V2.0 beta - assembly step #2
V2.0 beta - assembly step #1
V2.0 beta - assembly step #0.2
V2.0 beta - assembly step #0.1
V2.0 beta - assembly step #8
V2.0 beta vs. alpha
V2.0 beta vs. alpha
Shot with -2.0EV
Beautiful colors
V2.0 beta - assembly step #7
Iteadstudio 'Mystery PCB' service
A heap
A pyramid
Mons capacitivus
V2.0beta - LED orientation
Illumination 1 vs. 2 vs. 3 modules
V2.0alpha - LED orientation
BAD BAD 127 / 128 transition
V2.0.d - LED orientation
IKEA - quick mood-lamp mod
IKEA - quick mood-lamp mod
IKEA - quick mood-lamp mod
V2.0 beta - assembly step #6
V2.0 beta - assembly step #3
Some quality colors
It's still round
Some GIMP magic applied
Old vs. new
V2.0 alpha - assembly step #11
White on full blast
Pink ?
Purple
V2.0 alpha - assembly step #13
V2.0 alpha - assembly step #14
Definitely green
Green / yellow ?
V2.0 alpha - assembly step #12
V2.0 alpha - assembly step #10
Artsy mistake
V2.0 alpha - assembly step #0.1
V2.0 alpha - assembly step #0.2
V2.0 alpha - assembly step #2
V2.0 alpha - assembly step #3
V2.0 alpha - assembly step #6
See also...
Keywords
Authorizations, license
-
Visible by: Everyone -
All rights reserved
-
120 visits
V2.0 beta - assembly step #5


Solder the 560R resistors and the remaining capacitors. Make sure the red bar on the tantalum caps is aligned as shown. If reversed, they will blow up.
- Keyboard shortcuts:
Jump to top
RSS feed- Latest comments - Subscribe to the comment feeds of this photo
- ipernity © 2007-2025
- Help & Contact
|
Club news
|
About ipernity
|
History |
ipernity Club & Prices |
Guide of good conduct
Donate | Group guidelines | Privacy policy | Terms of use | Statutes | In memoria -
Facebook
Twitter

Sign-in to write a comment.